🤖 🧶 Machine Knitting - v1 Sweater Manufacturing
Hello to spring in NYC (and goodbye to sweater weather??)
Last month I wrote about hand-knitting a sweater out of ‘waste’ and scrap yarn, but most of you don’t know that I did the majority of the knitting in late Dec / early Jan. I had always planned to write a newsletter about the process, but it was easier to start knitting than to start writing!
This month, you’re all following along in real time - I only started knitting this new v1 sweater on Tuesday afternoon. And! It’s only the second sweater I’ve ever knitted on a machine. Needless to say, the process has been slower and more frustrating than I anticipated. But I’ve learned a lot! And after making a few on the fly design tweaks, I’m confident that I’ll be obsessed with the final sweater - I really like how it's coming together (I wasn’t so sure of that on Tuesday night, already 6 hours deep into knitting having only completed the back panel and part of the front...)
Some progress pics before I share my notes
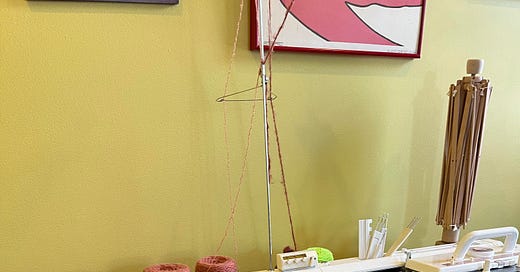
A few weeks back I introduced knitting machines - here's mine (thanks eBay), all set up at home:
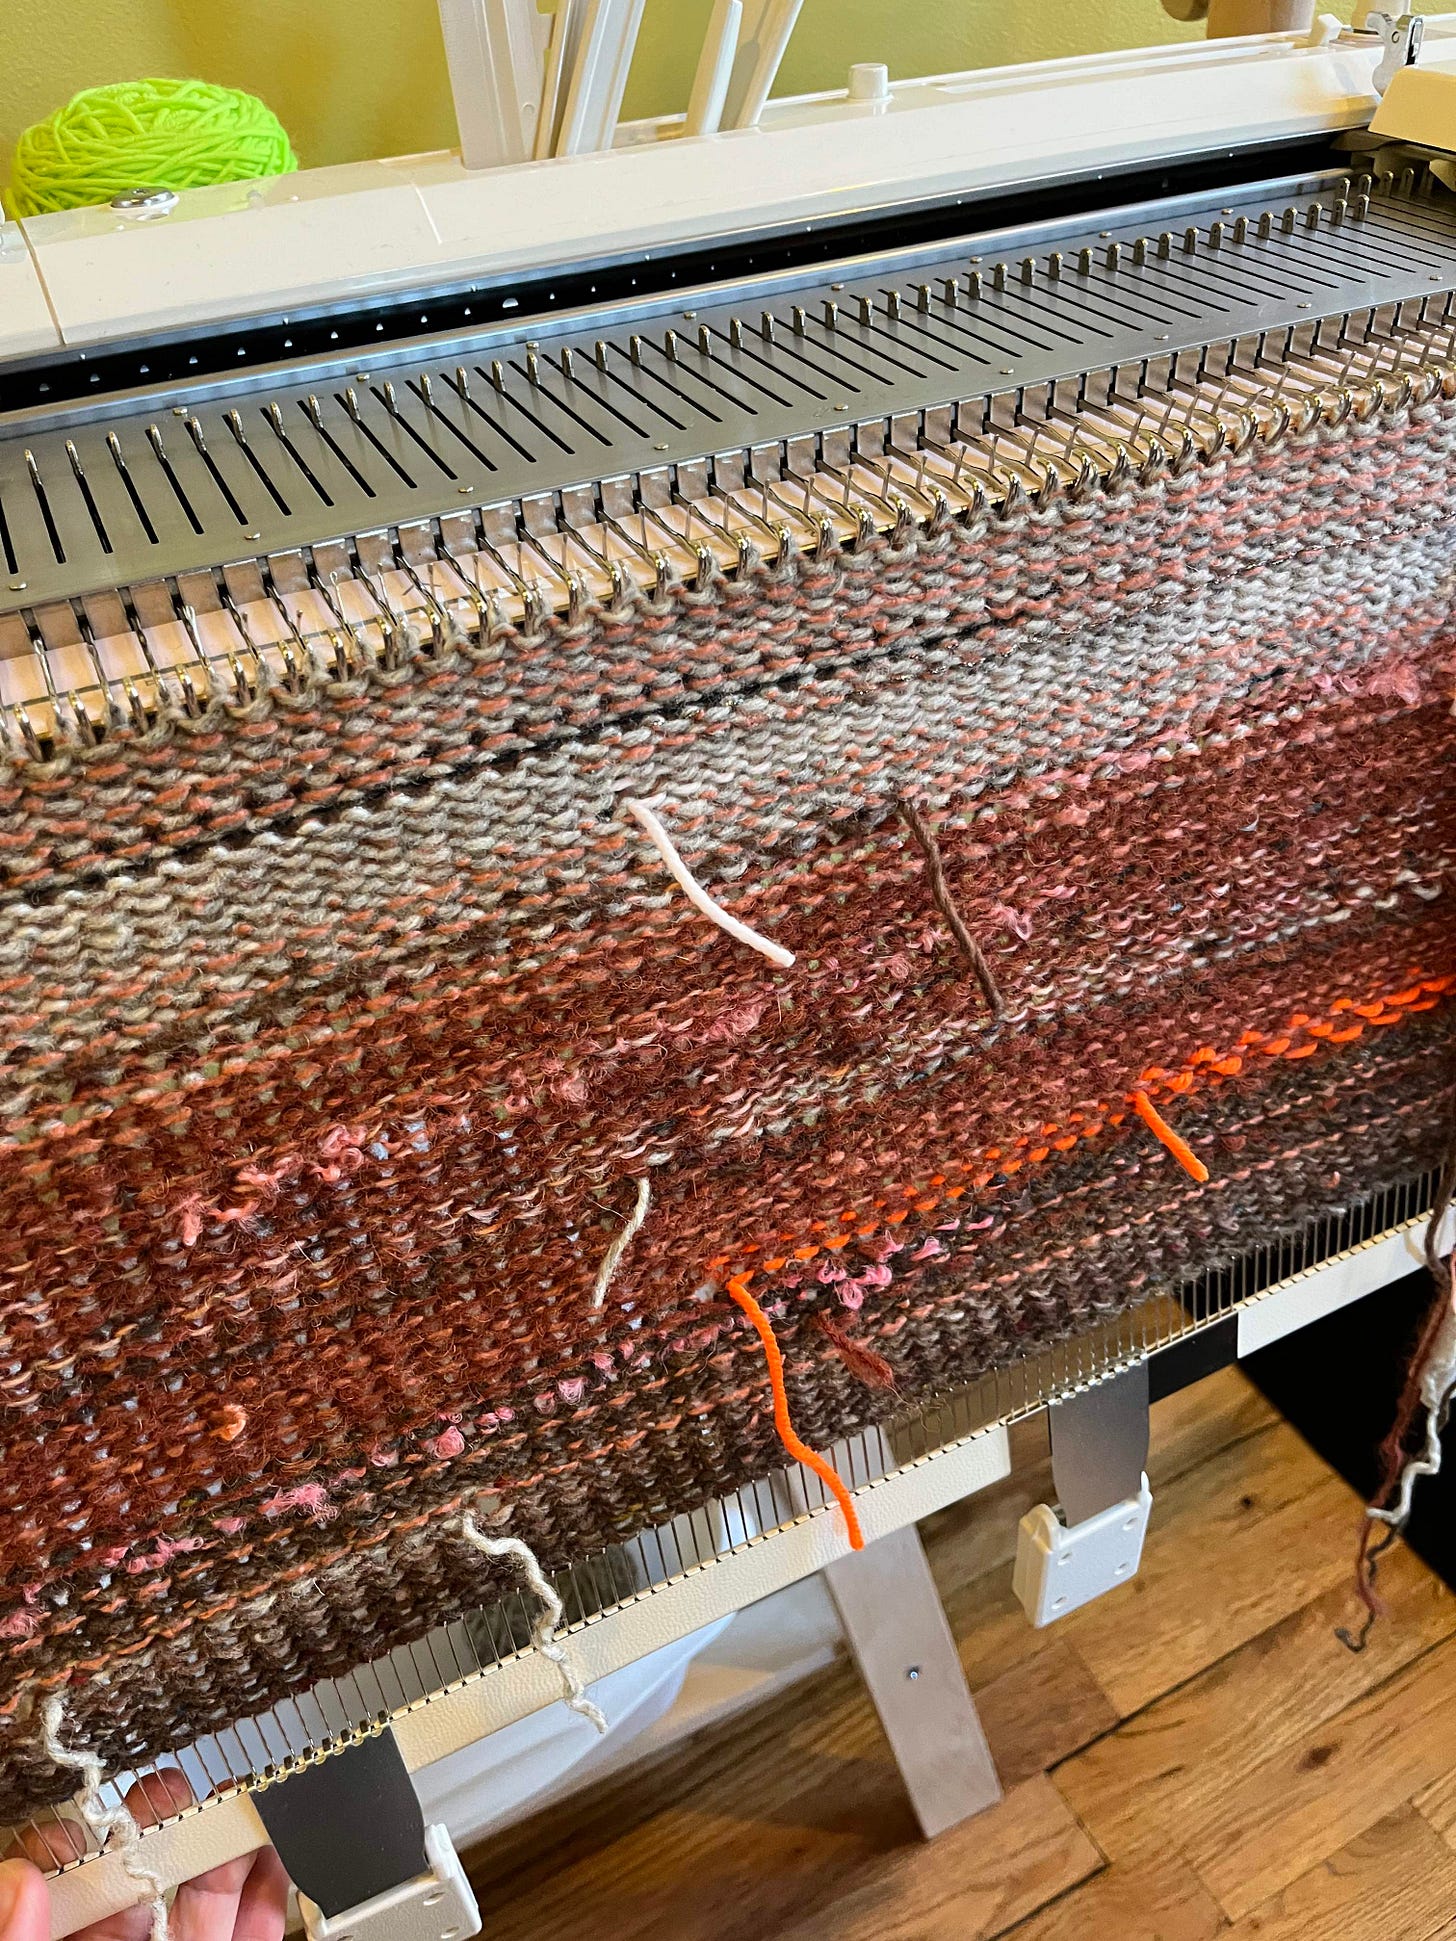
A panel of fabric knitted on the machine - this is the 'wrong' side (aka what you'll see if you look at the inside of your sweaters):
Here I'm about to join the the front and the back panels together at the top of the right shoulder:
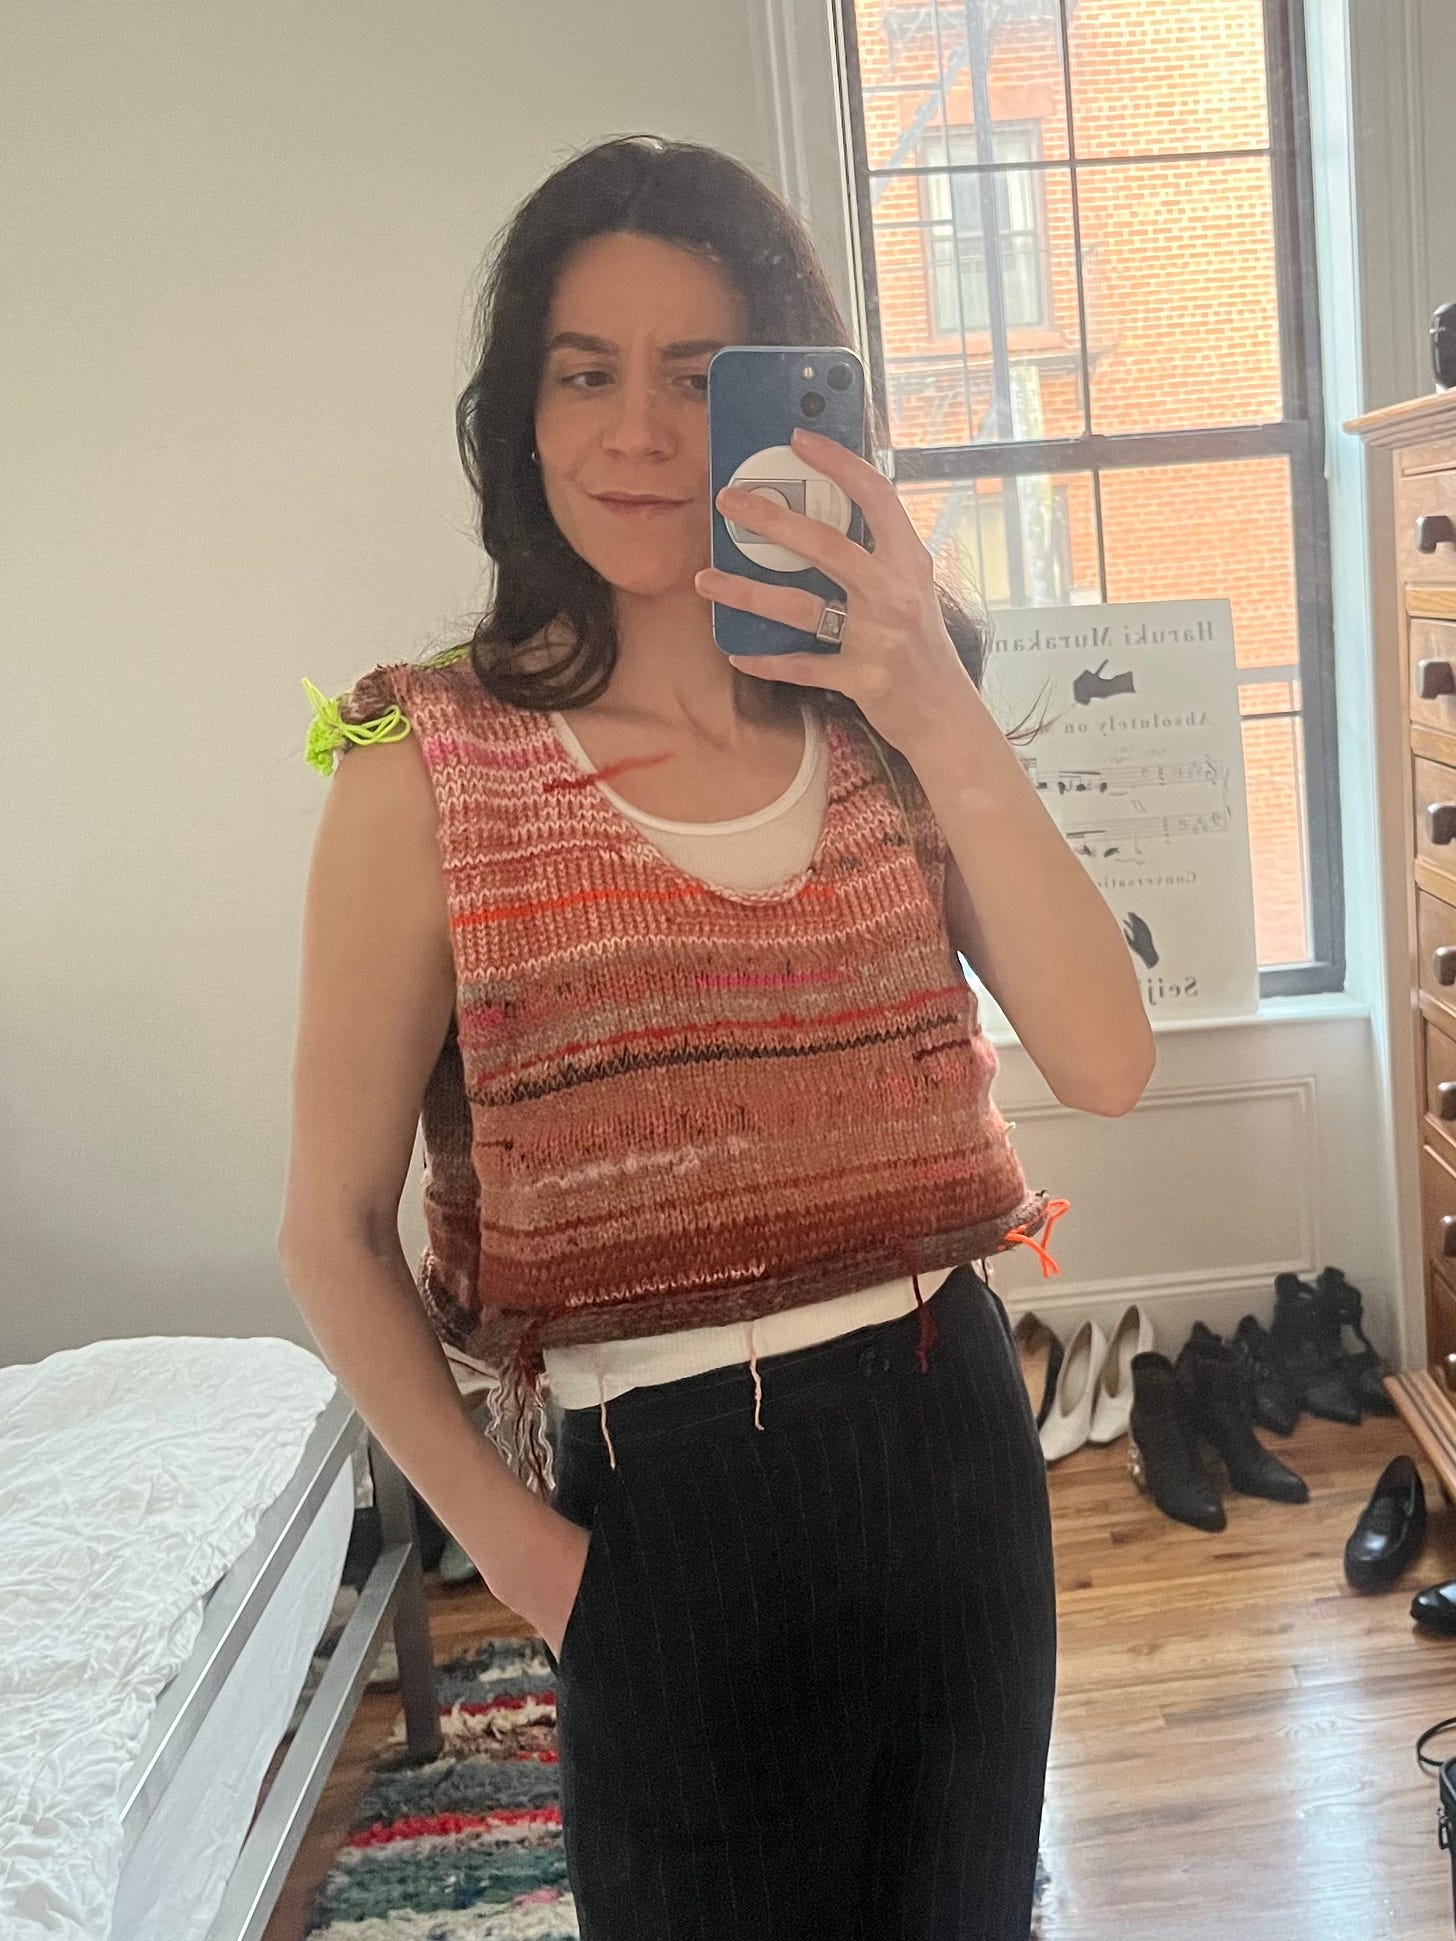
Front and back are now joined, and I'm getting ready to attach the left sleeve:
I’m not quite done yet, I’ve got to knit and attach the ribbed hem, cuffs, and collar, and seam the sleeves and sides.
Some notes/things I've learned
Always make a proper gauge swatch!!!! I kind of skipped it, and I regret that choice... My tension was a little too tight, making the machine knitting more difficult, and slower; it was a physical struggle to pull the carriage across the needle bed (and that’s not great for the machine either). The resulting sweater will have a slightly denser, stiffer feel than I was going for.
For non-knitters: a gauge swatch is a square you knit before starting a project, using your yarn needles of choice, to check the ‘tension’ of the fabric.
Thick knitting needles with thin yarn result in loops that are very far apart, and drapey and loose/mesh-like fabric.
Thin needles with thick yarn create bulky, stiff fabric.
Gauge swatches are also important for sizing your garment, allowing you to calculate the number of stitches required to knit a desired width & length.
Machine knitting with scrap yarn bits - I had experimented with this a little bit in my class but had yet to try it out on this scale. Some techniques (swapping in different color stripes & holding different threads of yarn together) worked better than others (manually knitting short strands of scrap into the middle of a row).
Hours spent knitting: ~11 hours (so far, I've got at least a few hours left to go). The total time I've spent (including unraveling) is just over 15 hours. Overall this is a little slower than I hoped (I thought I might be able to complete the whole project in ~12 hours) but the above points are definitely areas that can be improved upon next time around.
Looking forward to sharing the final piece (and a little reflection on the process) with you next week! Though if the weather stays this good I might have to pivot from sweaters to vests…
Best,
Anne


